Deborah R. Fowler
Lighting - Introduction
Updated on Aug 31 2020
Inspired by a video I saw
shared on linkedin, I thought I'd say a few words about
lighting.
Over the years we have seen advances in render algorithms (now dominated by ray tracing) and lighting calculations (global illumination affordability). There is a rich history but the concepts remain - make it look beautiful - use your eye and make the point the story needs to make.
The basics - guidelines can be seen in what is popularly labeled 3-point lighting. This consists of a key, fill and rim light. Lights should never come from camera. In Houdini, we have "camera lights" which are there so that you can see something in the render before you add lights. Once you place a light in the scene the "camera light" goes away. Light types are defined with specific purposes (see light types mantra) to mimic the lights you would have in reality. These are not hard and fast rules, however typically:
- key - your strongest light in the scene, shadow direction defined
- fill - fills in the areas not hit by the key (usually soft, no shadow), now tends to be an env light with an hdri associated with it which includes occlusion shadow
- rim - a thin strip of light from behind from the direction of a light source helping pop the hero object from the background, self-shadowed, in my class also light-linked

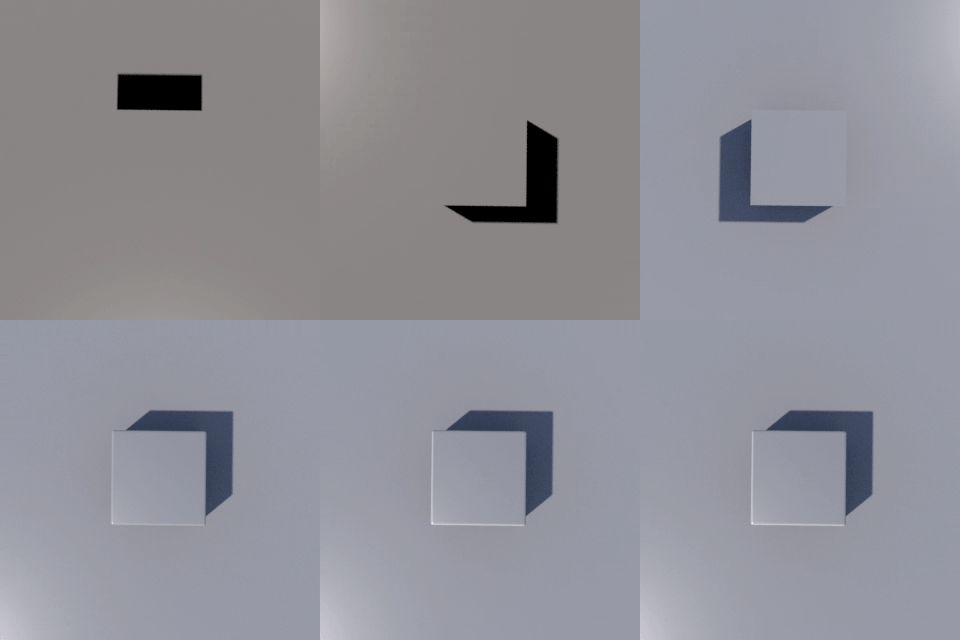
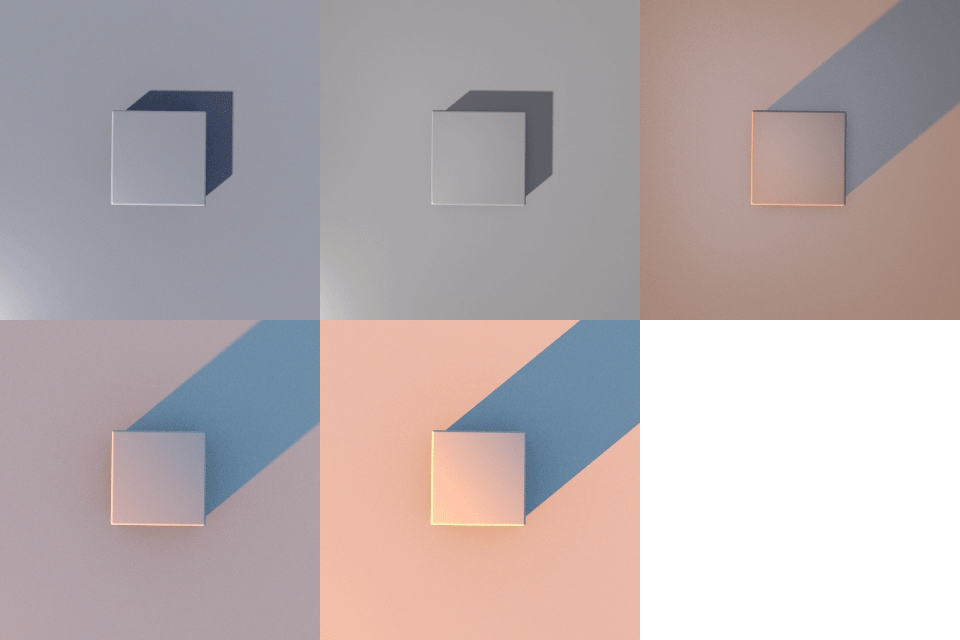
The gif above illustrates a cube with some simple lighting. A key is added to start, note the cube has a hard edge so the shape is ill-defined. We start to see the cube as we add the fill light. The cube is modified (adding polybevel - which could also have been done in the shader) to catch light on the edge. To further define the shape and help it pop from the background a rim is added. So much more can be done by adding color as show below.
Important note: lights can define and shape objects - this is especially important for fx artists lighting smoke/pyro.

Light should not be white. Depending on the tool, you may define temperature, whatever the tool, color influences the look as does shadow. If you study the outdoors you will have the warm pinks of sunrise with long shadows, the harsh sharp shadows of noon, overhead (boring) lighting, and the warm orange light with long shadows of sunset. These are helpful tools to define moods. With all lighting balancing the light intensity (can be controlled in some tools as intensity, color, exposure) to create the desired effect. Generally warm/cool contrasts are used.
Next we could talk about composition - all of the principles you have learn should be applied to your digital work.
If you are interested in reading more about lighting here are a few:
- Storytelling Through Lighting - A Computer Graphics Perspective by Sharon Calahan
- Lighting & Rendering by Jeremy Birn
- Lighting for Animation: The Art of Visual Storytelling by Jasmine Katatikarn and Michael Tanzillo
On to the mechanics of lighting ... http://deborahrfowler.com/HoudiniResources/HoudiniOverview.html
